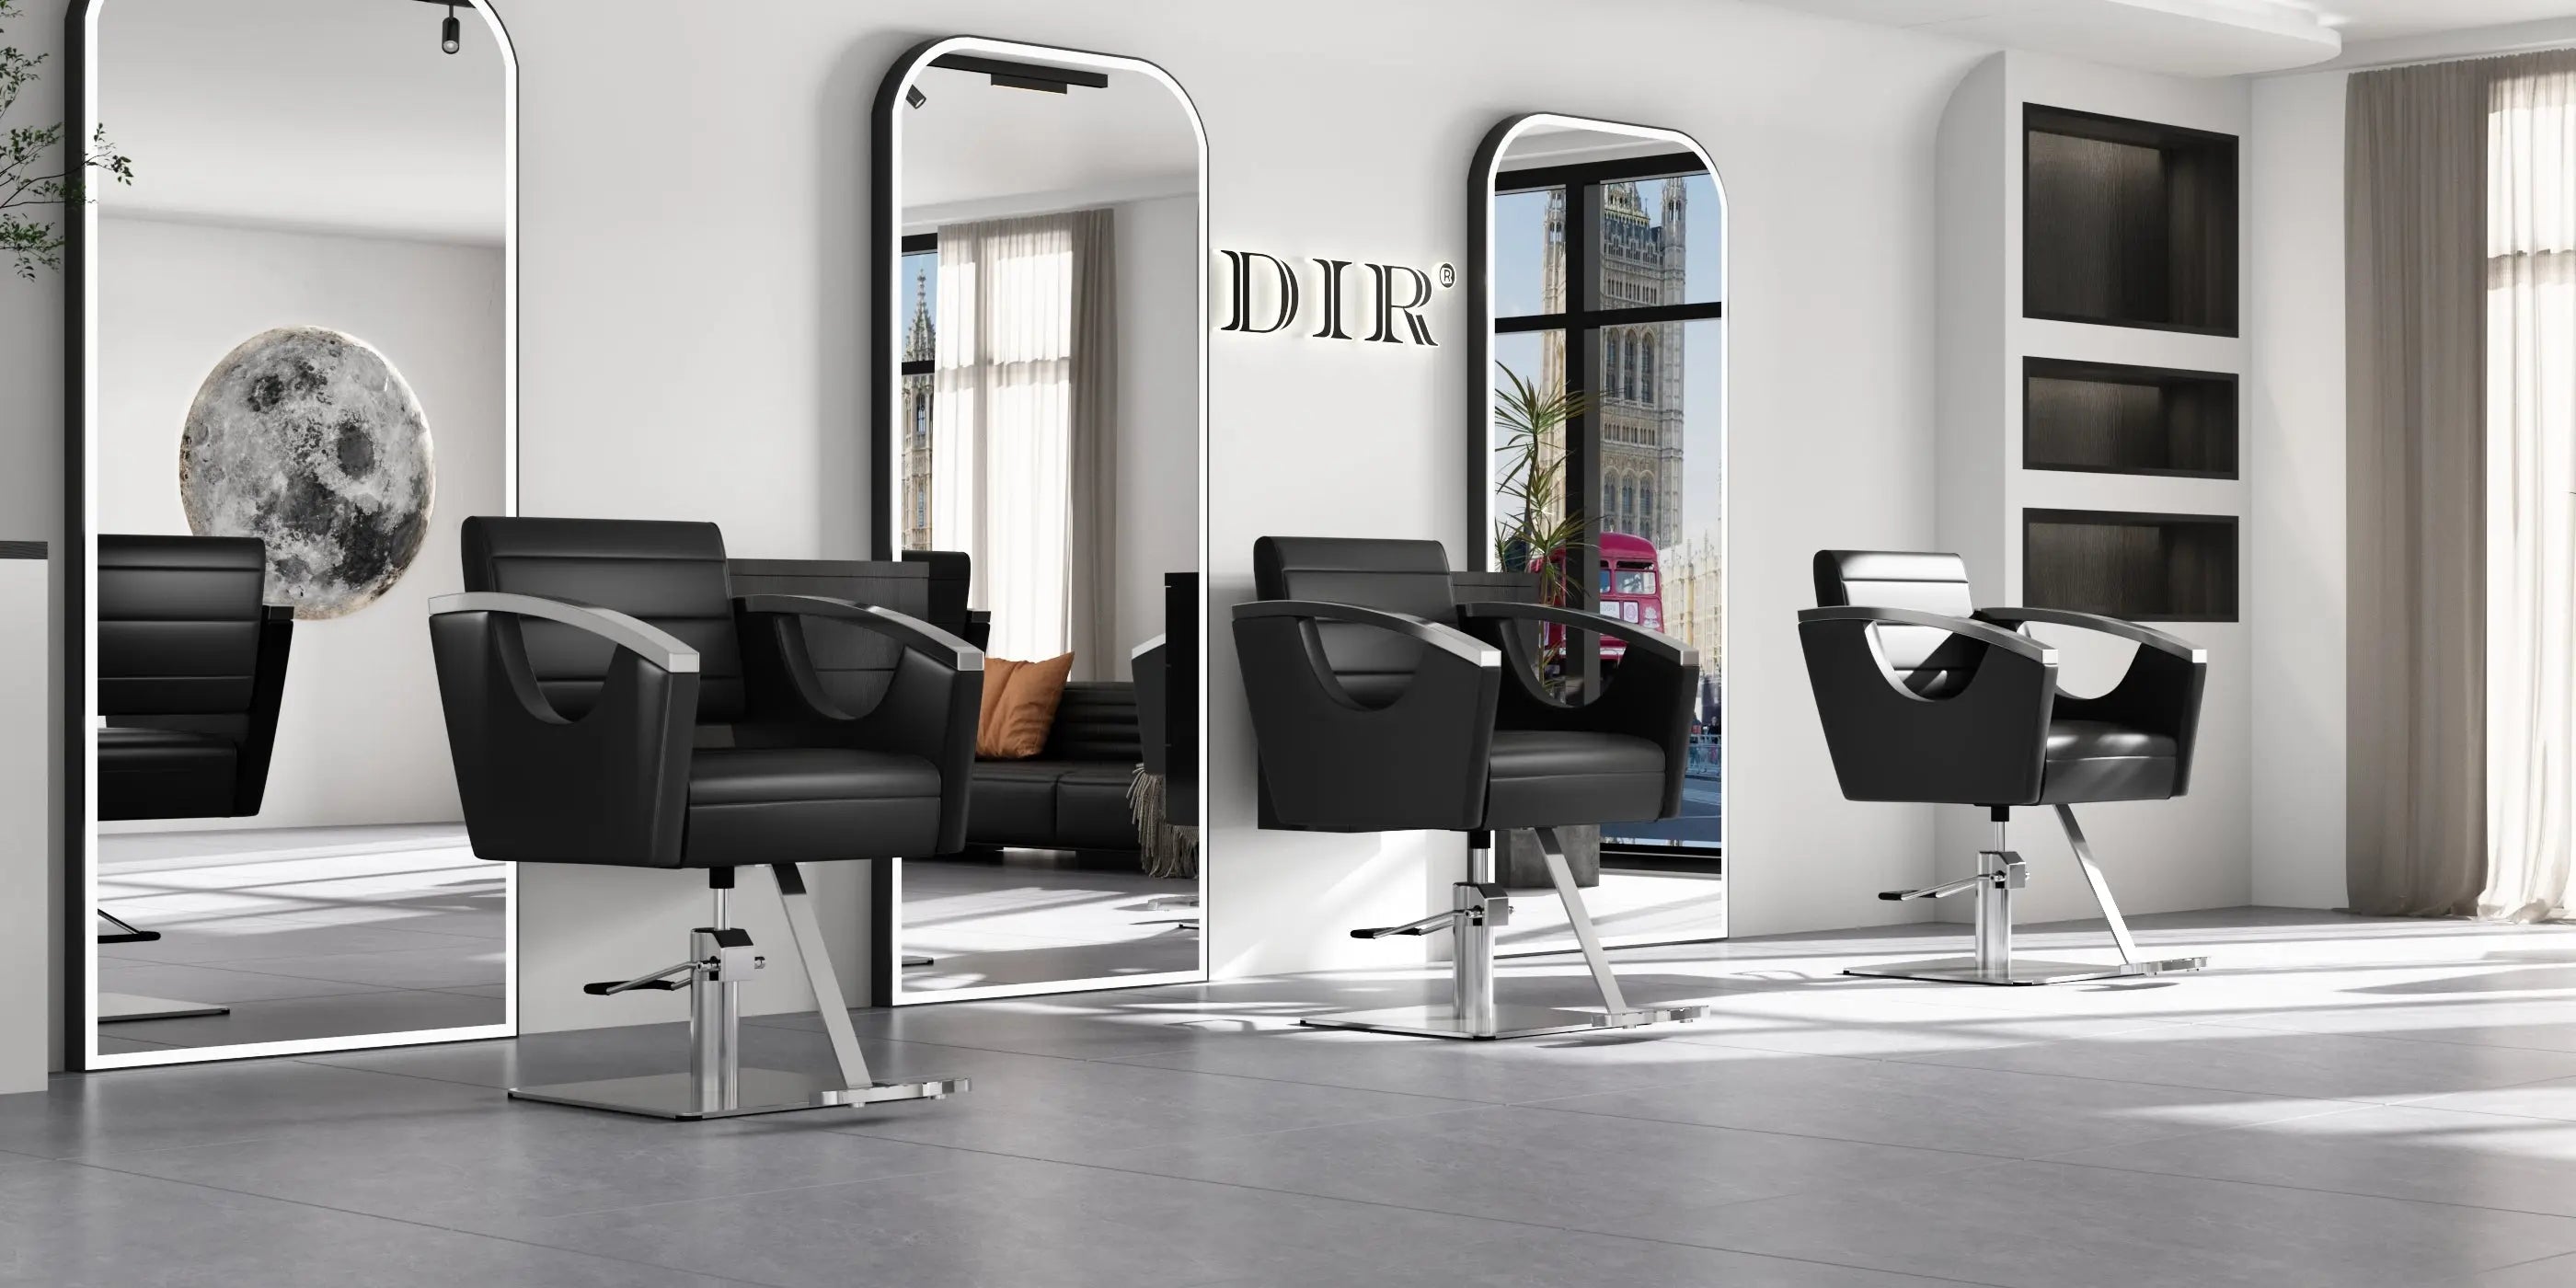
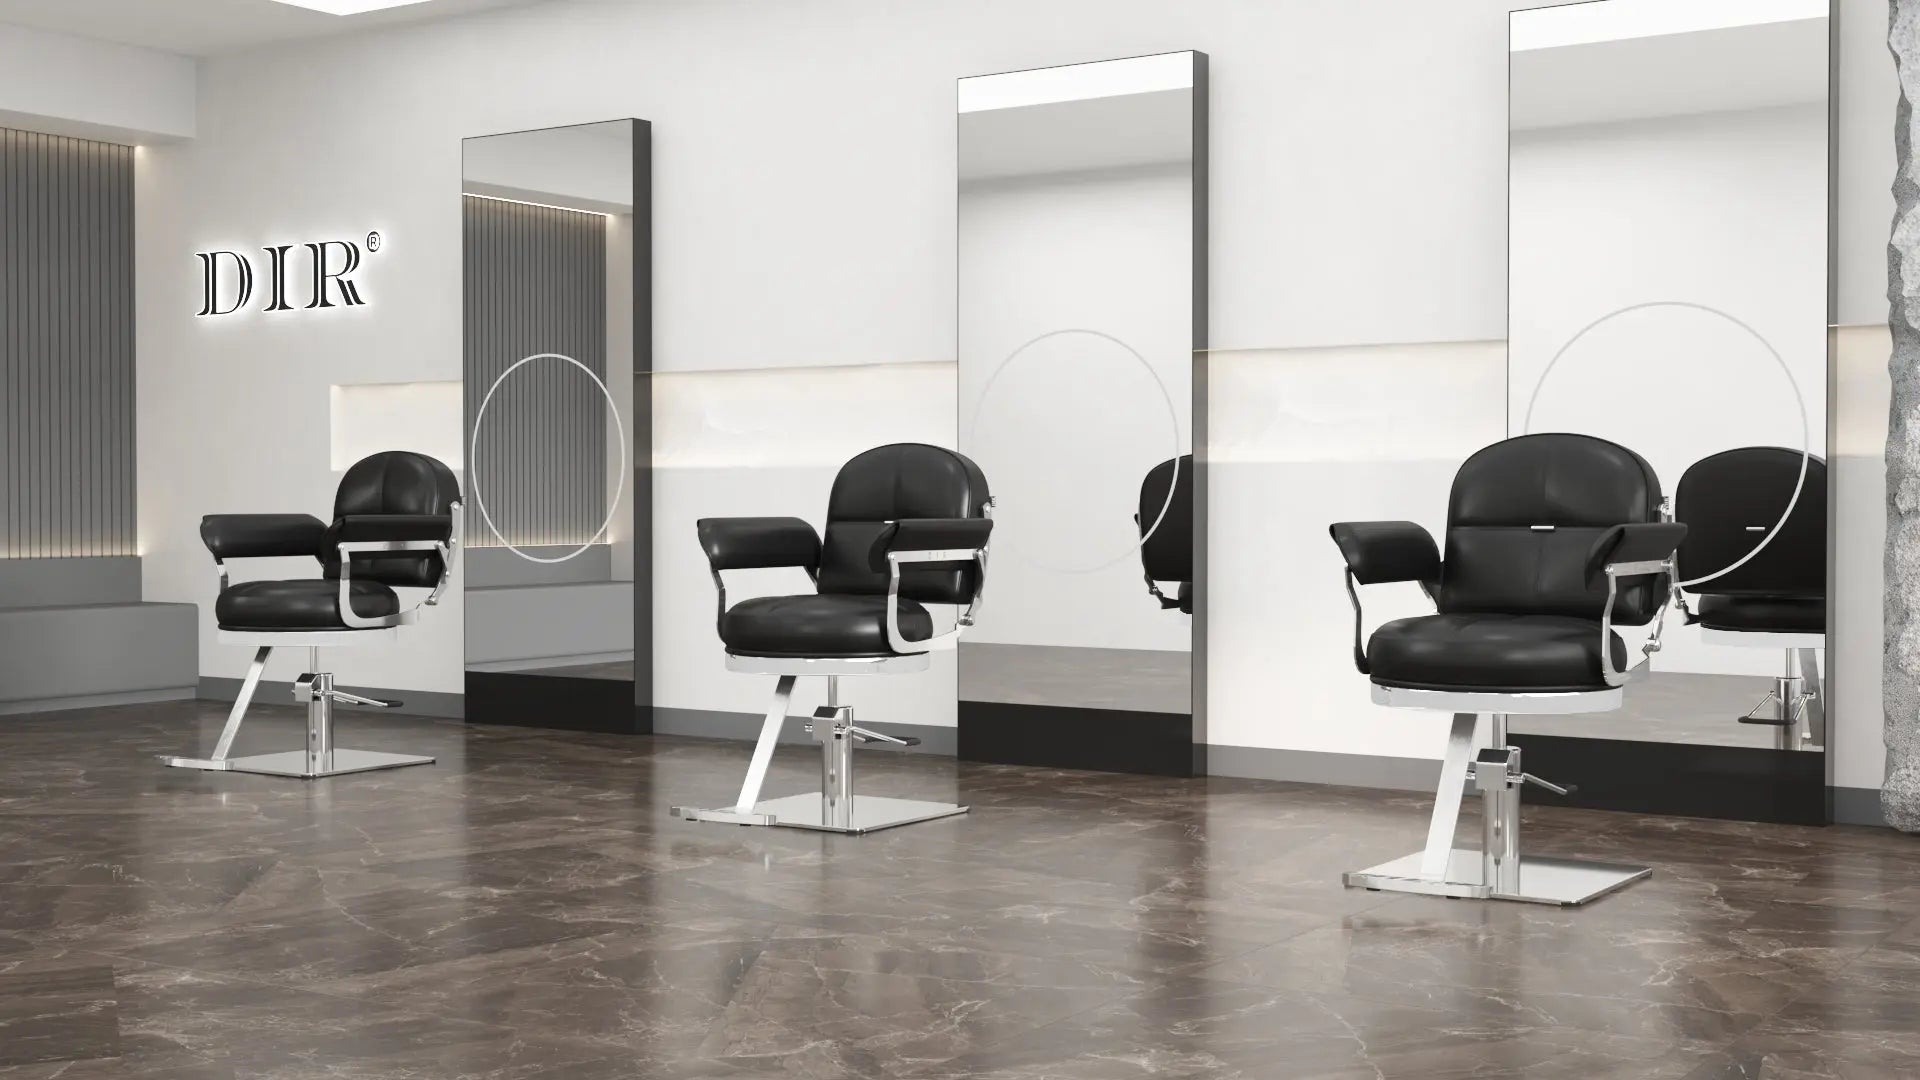
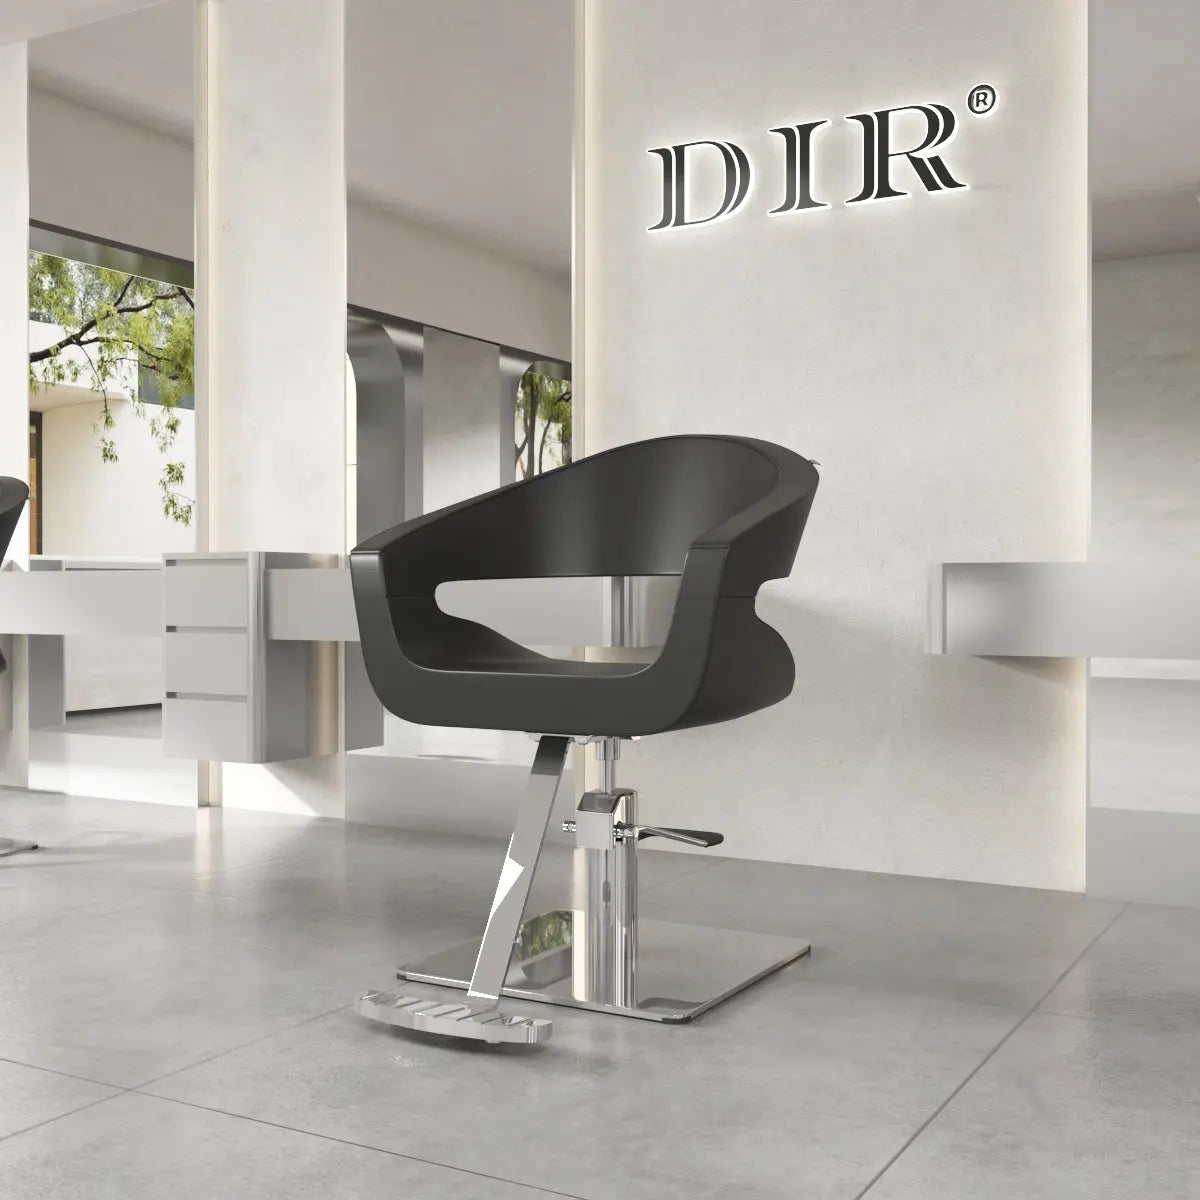
A styling chair is an essential investment for any salon or home setup. Whether you’re a professional stylist or a DIY enthusiast, keeping your styling chair in top condition ensures comfort, safety, and longevity. Regular salon chair maintenance doesn’t have to be complicated or expensive. With this DIY checklist, you can keep your styling chair looking and functioning like new.
Why Styling Chair Maintenance Matters
A well-maintained styling chair not only enhances the client experience but also saves you money in the long run. Neglecting maintenance can lead to squeaky mechanisms, torn upholstery, or even safety hazards. By following these simple steps, you can avoid costly repairs, keep your chair in working order, and extend its life.
Monthly Care Tips
Give your styling chair a quick check-up every month. Start by testing all the screws and bolts with a screwdriver—if anything feels loose, tighten it right away. A shaky chair isn’t just annoying; it can wear out faster or even cause accidents. Next, spray a tiny amount of WD-40 or silicone spray on the swivel base and lift lever to keep them moving smoothly. Don’t overdo it—a little goes a long way. For cleaning your salon chair, wipe down the seat and backrest with a damp cloth and mild soap. If it’s one of your leather salon chairs or vinyl chairs, use a soft cloth and a specialist salon chair cleaner to help remove product buildup without damaging the finish. Avoid harsh chemicals that can dry out or crack the upholstery.
Every 3 Months
Take 10 minutes to inspect the chair’s wheels and hydraulics. Flip the chair over and remove hair or gunk stuck in the wheels using a comb or old toothbrush. If the wheels squeak or drag, replace them—most salon chairs use standard caster wheels you can buy online. For hydraulic lifts, check if the chair sinks slowly when you sit. If it does, the gas cylinder might be failing. Look for replacement kits labelled “office chair lift cylinder”—they often fit styling chairs and cost less than salon-specific parts. Wipe down the metal parts too, so dust and residue do not build up around the base or moving joints.
Once a Year
Do a deep clean! Remove the seat cushion if possible (check for hidden screws under the chair) and vacuum crevices with a narrow nozzle attachment. For fabric chairs, mix 1 cup warm water, 2 tablespoons baking soda, and a drop of dish soap. Scrub stains gently with a soft brush, then blot with a towel. Leather chairs need extra care: wipe with a 50/50 mix of water and white vinegar to disinfect, then condition with olive oil (yes, kitchen olive oil!) to restore shine. If you use chair covers, wash or replace them as needed so dirt, hairspray, and colour residue do not transfer back onto the chair.
Bonus Pro Tips
- Stop stains fast: Keep a pack of makeup remover wipes nearby—they’re great for wiping off hair colour splatters before they set.
- Protect the base: Stick felt pads (the kind used for furniture feet) under the chair legs to prevent scratches on floors.
- Teach your team: Show staff how to adjust the chair properly—yanking the lift lever or forcing the tilt can break the mechanics.
Conclusion
Maintaining your styling chair doesn’t require professional expertise or expensive tools. By following this DIY styling chair maintenance checklist, you can keep your chair in excellent condition for years to come. A well-cared-for styling chair not only enhances your workspace but also reflects your commitment to quality and professionalism. Start today and enjoy the benefits of a smooth, comfortable, and long-lasting styling chair!
Give your clients the ultimate salon experience with DIR’s ergonomic styling chairs. Shop now and transform every cut, colour, and style into a moment of luxury.