In 2025, as the UK beauty industry surges forward with a projected 5.5% growth amid rising demand for premium wellness experiences in urban centers like London and Birmingham, installing a backwash unit has become a pivotal upgrade for salons aiming to enhance client comfort and operational efficiency. These units, featuring tilting sinks and optional massage systems, not only streamline shampoo services but also comply with stringent UK water and safety regulations, potentially boosting client satisfaction by 25-40%. However, improper installation can lead to leaks, clogs, or non-compliance with the Water Supply (Water Fittings) Regulations 1999, risking fines or downtime. This step-by-step guide, drawn from expert sources like DIR Store, covers everything from planning to testing, ensuring a seamless setup for models like DIR's Olympic or Majestic. Whether you're a new salon owner or refurbishing, following these steps—with professional help—will safeguard your investment and align with UK best practices.
Key Tools and Materials Needed
Before starting, gather essentials to avoid delays. UK installations require WRAS-approved fittings for water safety and non-slip flooring for health compliance under the Health and Safety at Work Act 1974. Costs for tools and materials typically range £100-£300, excluding professional fees (£300-£1,000 per unit).
|
Item |
Purpose |
Estimated Cost (2025) |
|
Drill with bits (2-inch for drains, 5/8-inch for water lines) |
Creating plumbing access holes |
£50-£100 |
|
PVC pipes, fittings, and hangers |
Drainage and water supply lines |
£20-£50 |
|
Plumber's putty or mild sealant |
Sealing connections to prevent leaks |
£5-£10 |
|
Wrench, screwdriver, level |
Assembly and alignment |
£20-£40 |
|
Vacuum breaker kit and hair trap (UPC-certified) |
Backflow prevention and clog protection |
£30-£60 |
|
Discharge pump (if needed for uphill drains) |
Ensuring proper drainage |
£100-£200 |
|
Safety gear (gloves, goggles) |
Personal protection |
£10-£20 |
|
Non-slip flooring materials |
Compliance with safety regs |
£50+ per sqm |
Step-by-Step Installation Guide
Follow these steps meticulously, ideally with a licensed plumber to meet UK building regulations. Allow 4-8 hours per unit, plus drying time for sealants.
1. Pre-Installation Planning and Assessment
Assess your space: Measure for at least 32-42 inches between stations and 24 inches behind the unit for workspace. Position near existing water lines to minimize runs, and consider raised flooring to conceal pipes for a clean look. Check for wall vs. floor plumbing compatibility—most units like DIR's Olympic support both. Obtain permits if modifying plumbing, and ensure hot water capacity (40-50 gallons for small salons) via boilers or unvented cylinders. Consult a plumber for vacuum breakers and hair traps to comply with UK water regs preventing backflow.
2. Unpack and Assemble the Unit
Unbox on a clean surface, verifying all parts: chair, basin, faucet, sprayer, silicon neck rest, sink strainer, water lines, drain pipe. Assemble per manufacturer instructions—attach the basin to the frame, connect any massage features (e.g., Shiatsu rollers in DIR Majestic), and level the unit. For dual-seat models, ensure seats align evenly.
3. Position the Unit
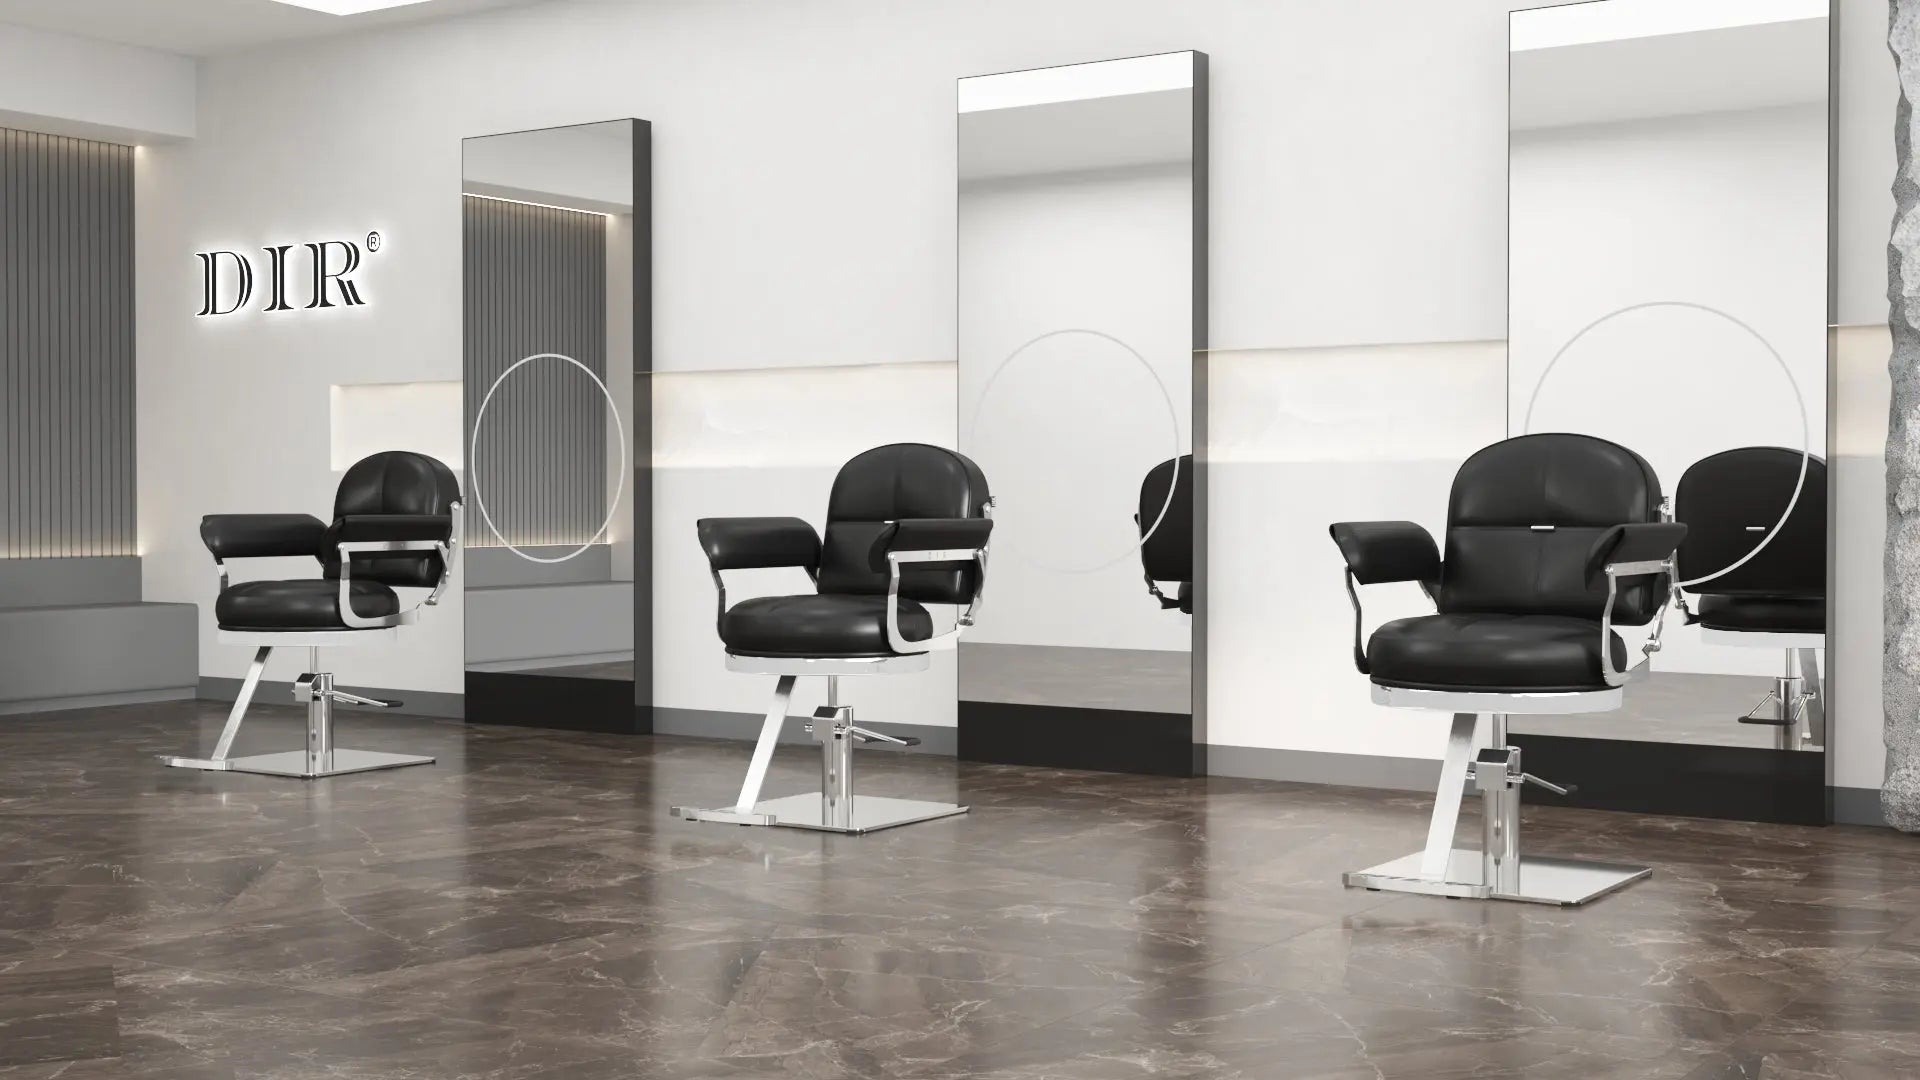
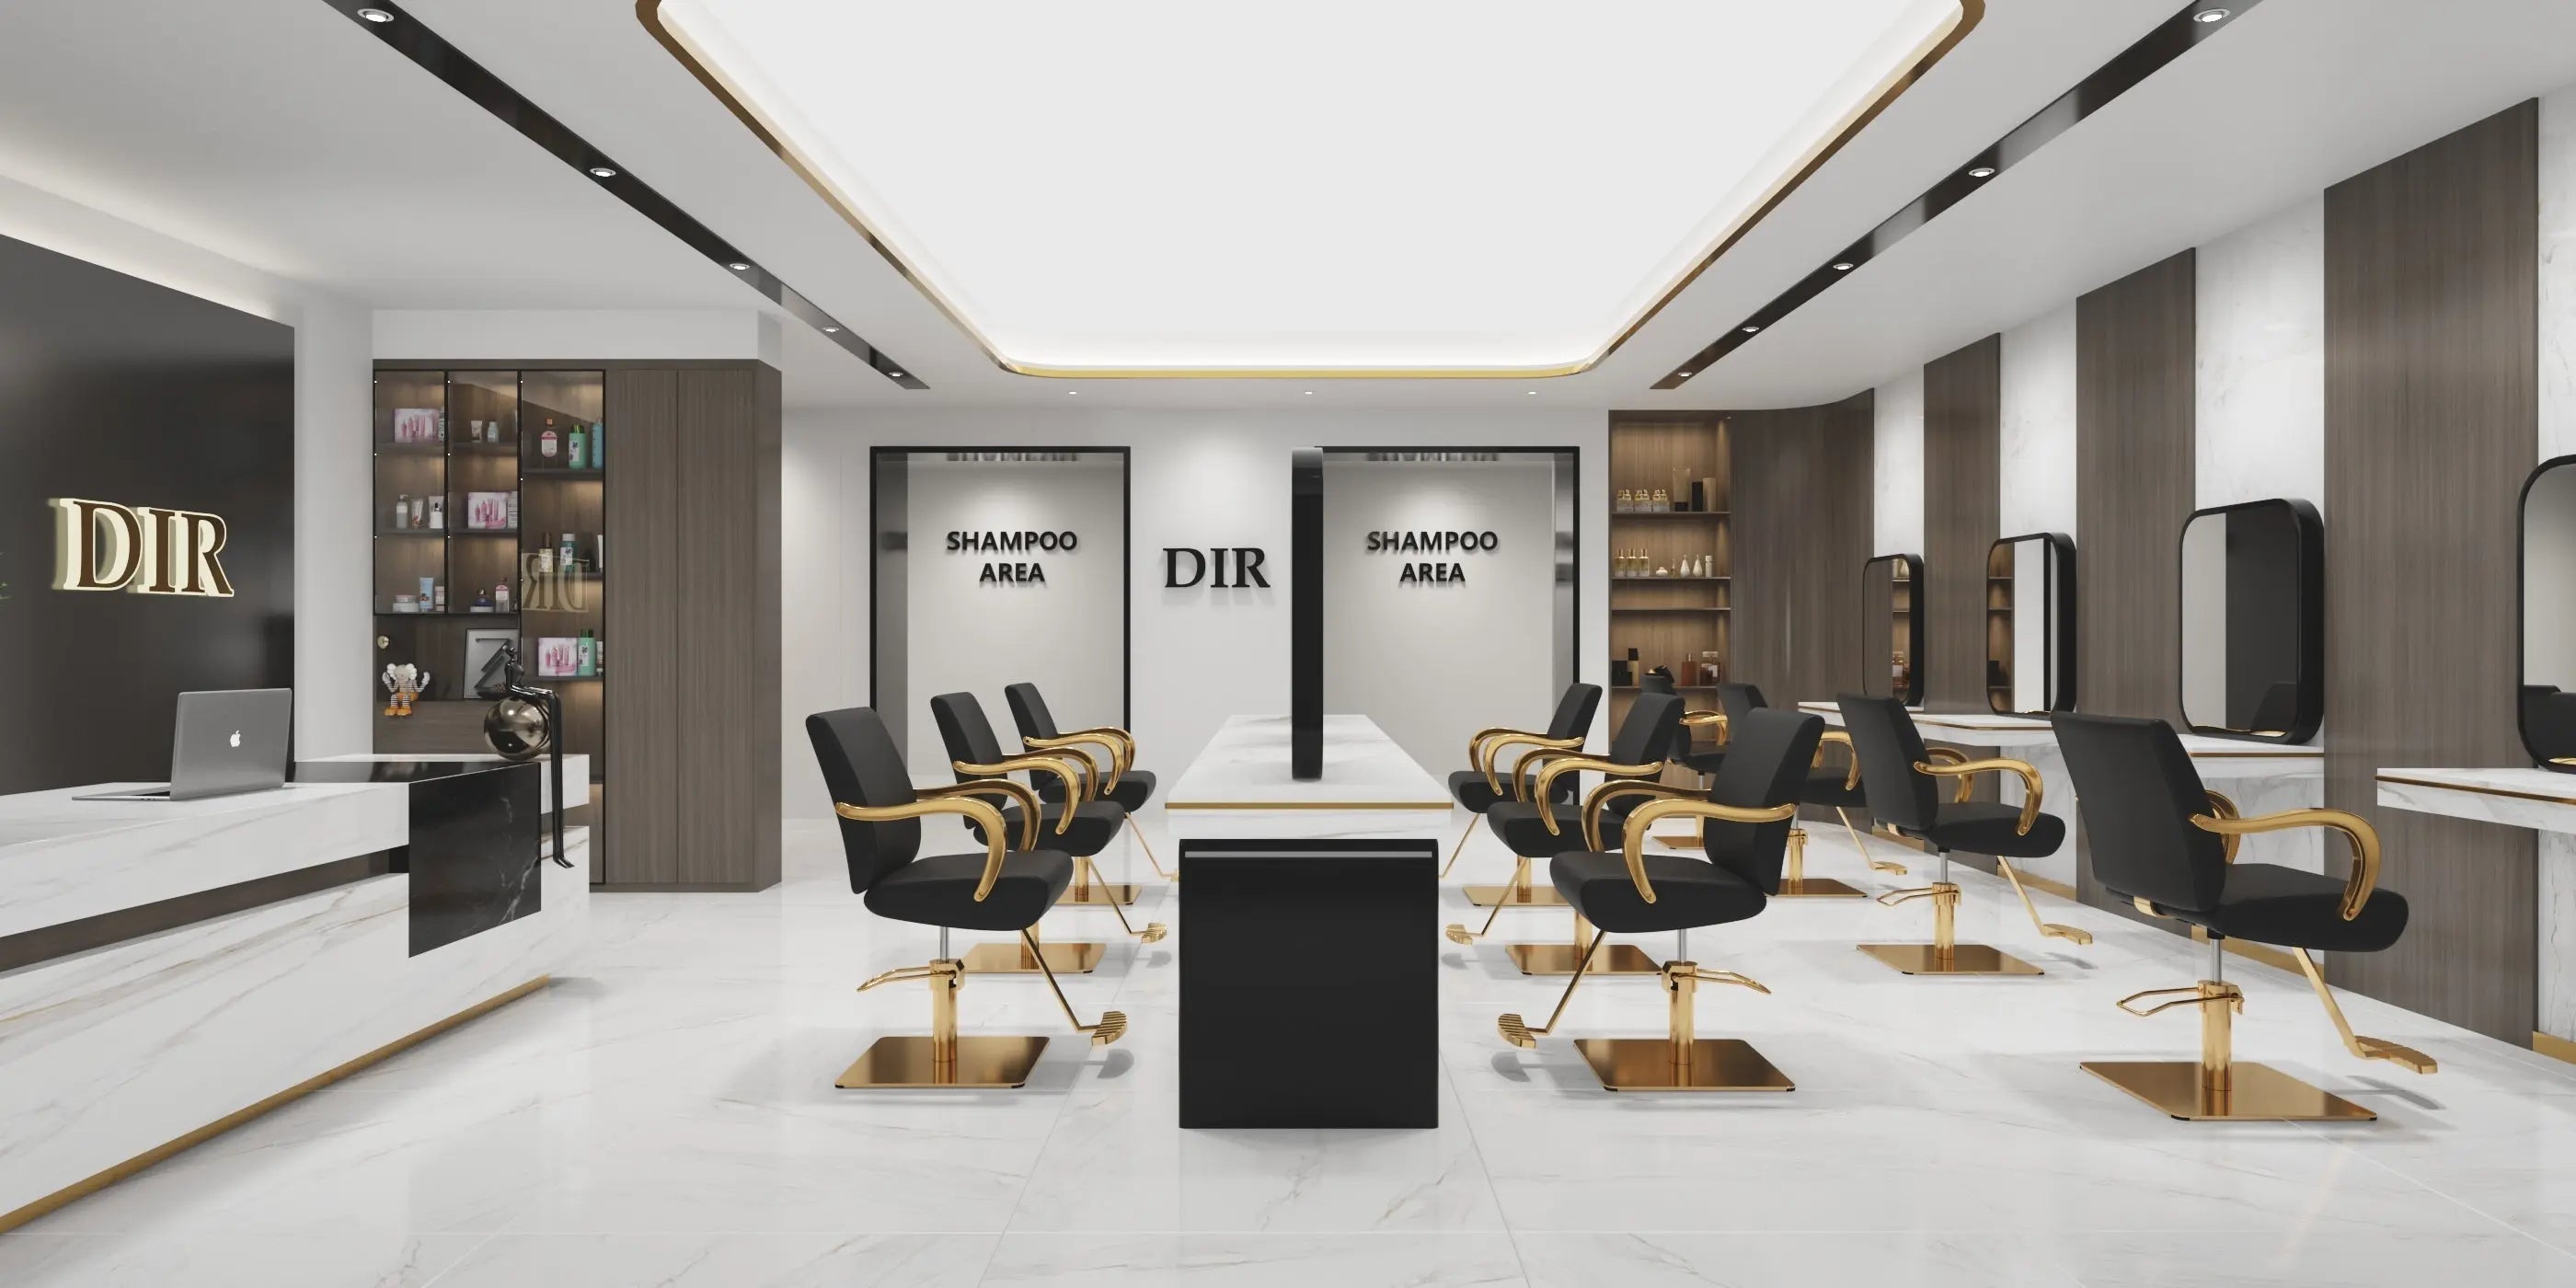
Place in the designated spot, allowing room for reclining and operator movement to avoid claustrophobia. Secure to the floor or wall if required, drilling pilot holes for stability. Install non-slip flooring around the area to prevent slips from spills, a key UK safety requirement.
4. Prepare Plumbing Access
Drill holes: 2-inch for drains, 5/8-inch for water lines, ensuring a 1/4-inch per foot slope for drainage. Run PVC pipes from existing supplies, securing with hangers. Install a discharge pump if drains are uphill, and fit WRAS-approved vacuum breakers and hair traps to meet regulations.
5. Connect Fixtures and Plumbing
Attach hot/cold lines to the faucet, drain to wastewater, and flexible hose to the sprayer. Use putty for seals, avoiding sharp bends in pipes. For massage units, connect electrical if needed (ensure IP-rated for wet areas per UK electrical regs). Mount the basin securely, aligning with plumbing.
6. Test the System
Turn on water to check pressure (40-60 PSI), temperature, and drainage. Test tilting, reclining, and massage functions for leaks or issues. Flush drains and verify no backflow. Have a professional inspect for compliance.
7. Final Touches and Safety Checks
Add lighting for ambience—soft, positioned to avoid glare on reclined clients. Educate staff on use, and schedule annual checks. For UK salons, document installation for insurance and regulatory purposes.
UK-Specific Regulations and Considerations
UK installations must adhere to the Water Supply (Water Fittings) Regulations 1999, requiring WRAS-approved components to prevent contamination. Use vacuum breakers for backflow, and ensure secure fixing with minimum wall distances (e.g., as per Aqua units). Electrical elements in massage units need BS 7671 compliance. Health regs mandate non-slip surfaces and hygiene features like hair traps. Permits may be needed for commercial plumbing alterations—consult local councils. Eco-tips: Opt for low-flow fixtures to meet sustainability goals.
Maintenance Tips for Longevity
Post-install, clean basins daily with mild disinfectants, empty hair traps weekly, and inspect seals monthly to prevent clogs. Annual professional servicing (£200-£500) ensures compliance and extends lifespan by 30%. Avoid harsh chemicals on upholstery.
Conclusion: Set Up for Success in 2025
Properly installing a backwash unit like DIR's Majestic transforms your UK salon into an efficient, compliant space, enhancing client loyalty and workflow. By following this guide and enlisting pros, you'll avoid common pitfalls like leaks or non-compliance. Ready to upgrade? Explore DIR Store salon backwash units and expert advice—your salon's future starts with a solid foundation. For more, check our guides on backwash units and salon furniture packages.