In the high-demand salon environment of 2025, wall mounted hair dryer hoods are essential for optimizing space and streamlining services. These salon dryer hoods, also known as hair dryer hoods, provide even heat distribution for efficient drying, coloring, and treatments, integrating perfectly with other salon equipment like salon hair processors, hair steamers, and salon steamers for hair. For busy salons juggling multiple clients, proper installation ensures safety, durability, and minimal downtime. With searches for "wall mounted hair dryer hood installation" spiking, this guide offers step-by-step tips tailored for professionals. Drawing from expert manuals and videos, we'll cover preparation, installation, and maintenance to help you install models like the DIR CAPSULE efficiently. Whether upgrading from free stand hair dryer hoods or adding to your setup, these tips maximize productivity in fast-paced hairdressing spaces.
As salons adopt space-saving trends, wall mounted options free up floors for more beauty salon chairs or backwash units, allowing stylists to handle blowouts, perms, and balayage with ease. Paired with a salon steamer for hair hydration, they create versatile stations that reduce processing times by up to 25%. Proper installation is key to avoiding common pitfalls like unstable mounting or electrical issues, ensuring long-term performance.
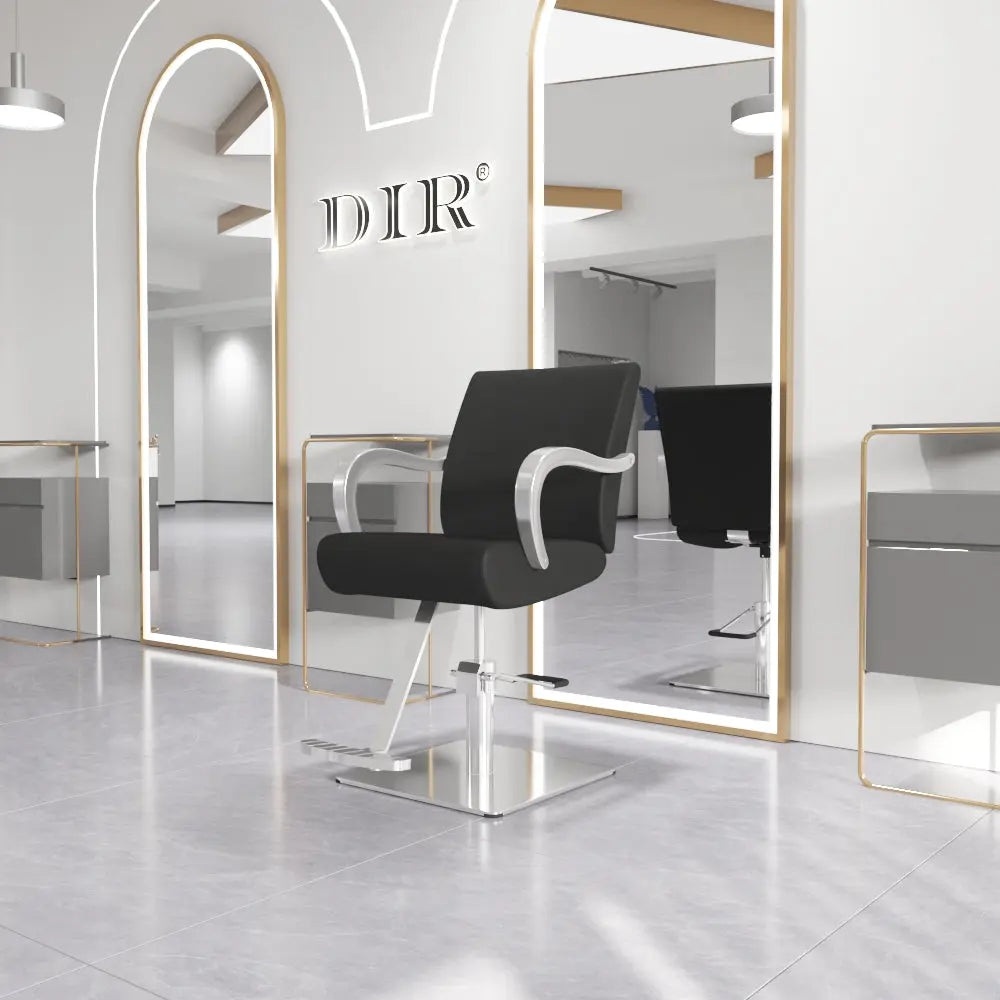
Why Wall Mounted Hair Dryer Hoods Are Ideal for Busy Salons
Wall mounted hair dryer hoods excel in crowded salons by eliminating floor clutter and offering 180° swing arms for flexible positioning. In 2025, models with infrared technology and adjustable controls speed up services, complementing salon hair processors for color acceleration. For high-traffic environments, they boost workspace efficiency by 2x, allowing seamless transitions between clients. Installation, when done right, minimizes disruptions—crucial for salons operating at full capacity. Benefits include even heat to prevent damage, hands-free operation for multitasking, and compatibility with salon steamers to enhance moisture retention during treatments.
Preparation: Tools and Location Selection
Before diving into installation, preparation is vital to avoid delays in a busy salon.
- Choose the Right Location: Select a spot near a standard 120V outlet (10-15 amps) for easy power access, avoiding extension cords that pose trip hazards. Position at chair height (typically 48-60 inches from floor) for client comfort, ensuring the arm extends 60 inches without obstructing walkways. In busy salons, mount near multiple stations for shared use, but confirm wall strength—opt for wooden studs or reinforced concrete to support the unit's weight (up to 20-30 lbs).
- Gather Tools and Materials: You'll need a drill, level, stud finder, screwdriver, Allen key (size 5 for some models like Wella FuturA), anchors/bolts, surge suppressor (600 Joule rating), and grease for bearings. For non-wood walls, consult a contractor for special hardware. Schedule during off-hours to minimize service interruptions.
- Safety First: Unplug during install, use a surge protector to prevent electrical damage, and ensure indoor use only. Avoid areas with flammable fumes or high humidity.
These steps set the foundation, reducing install time to under an hour for experienced teams.
Step-by-Step Installation Guide
Follow this comprehensive guide, compiled from professional manuals and videos, for models like LCL Beauty PRO-1028D or Collins TempTura.
- Assemble the Hood and Arm: Attach the hood to the adjustable arm before wall mounting to prevent stress breakage. For bearing models, apply grease to sockets, insert steel bearings, slide chrome sleeve, and secure with self-tapping screws. This step is crucial—failure to do so can damage components.
- Mount the Wall Bracket: Use a stud finder to locate a secure stud. Mark and pre-drill holes per the bracket template, ensuring level alignment. Install anchor bolts or screws, tightening until firm. For code compliance, add backing if needed. In busy salons, double-check stability to handle daily use.
- Hang the Arm: Fit the arm fully onto the bracket shaft. Remove any shipping cleats (screw and clip) for full range of motion.
- Secure the Retaining Mechanism: Disassemble small parts carefully—remove safety clip, retaining clip (with screw), insert into arm groove flush, reinstall screw snugly, and add safety clip. Be mindful of tiny fasteners to avoid loss.
- Adjust and Connect Power: Use an Allen key to tweak arm resistance and height—adjust after mounting, as tension engages then. Plug into a surge suppressor, test settings (temps up to 140°F, timers 0-60 min), and verify swing (180° for most).
- Final Checks: Towel-dry hair before first use, position hood, and start on low heat. Allow 15-minute cooldown post-session.
For DIR or similar static arms, ensure power routing to the arm base. If issues arise, like stuck arms, poke for hidden Allen key holes.
Tips for Busy Salons: Efficiency and Maintenance
In fast-paced settings, these tips ensure smooth operation:
- Minimize Downtime: Hire a professional for complex walls to avoid errors; install in batches during slow periods.
- Safety Enhancements: Use heat-proof nets for long hair, clean filters bi-weekly, and avoid overloading arms.
- Common Pitfalls: Address power source mismatches or weak mounts—reinforce for heavy use.
- Maintenance: Unplug and wipe with damp cloth; no abrasives. Schedule quarterly checks for loose parts.
These keep your salon running without interruptions.
Integrating with Salon Steamers and Hair Processors
Wall mounted hair dryer hoods pair ideally with salon steamers for hair, like the DIR ION model, for pre-drying hydration that reduces frizz. Follow steaming with hood drying for shine. Combine with salon hair processors (e.g., CHALE II) for infrared color processing—mount nearby for workflow efficiency, accelerating treatments in busy salons.
Benefits of Proper Installation
Correct setup yields even heat, faster drying (up to 25% savings), and enhanced client comfort, boosting reviews and revenue. It also ensures durability, with warranties up to 2 years, and sustainability through energy-efficient 1000W designs.
Conclusion: Streamline Your Salon Setup
Installing a wall mounted hair dryer hood in 2025 is a smart move for busy salons, offering space savings and performance when done right. Follow these tips for a hassle-free process, and integrate with salon steamers or hair processors for ultimate efficiency. Explore models at DIR Store to get started—your salon will thank you.